
Command An Army maps
Three map layouts, three different games. The same four-troop loadout wins on one and loses on another, which is exactly why ranked forces a generalist army.
World Kingdom
An open fortress layout with several entrances and crossing lanes. Good for flanking raids, but both sides can be robbed from the flank.
Attacking
- Split the defenders across the entrances: feint on one side and cut in from the other.
- Flankers are worth the most here, because no defence can watch every entrance at once.
Defending
- Do not stack everything on one point. Keep a mobile unit back to plug gaps.
- Place ranged units where they cover two lanes at the same time.
Best units here
- Scout Rider
- Lancer
- Fire Archer
One-way Field
A chokepoint layout with a single narrow lane, usually fought over one objective. Once attackers reach critical mass they are very hard to stop.
Attacking
- Concentrate on one lane instead of spreading out inside a narrow corridor.
- Send shields in first to absorb the opening volley, then move ranged units up.
Defending
- You have to commit everything: shields stacked with archers is the only real chance of holding.
- Do not step out of the choke to counter-attack. You lose the terrain advantage the moment you do.
Best units here
- Shieldman
- Imperial Wall
- Archer
- Fire Archer
Open Field
Open ground with no cover. Flanking is easiest here, cavalry performs best, and ranged units have no escape once something reaches them.
Attacking
- Cavalry is the strongest unit type on this map: take the flanks first, then press the middle.
- Ranged units travel with the shield line and never deploy alone.
Defending
- Keep ranged units behind the back row or behind structures, never on the front line.
- When you are flanked, fall back to defend the ranged units instead of chasing kills.
Best units here
- Scout Rider
- Lancer
- Samurai
The first twenty seconds
Whichever layout you get, the opening routine is the same and it decides more matches than any upgrade. Send one fast unit - a scout rider is ideal - toward the objective before committing anything else, and watch whether the enemy does the same. If they do not contest the point, you are playing someone who is still setting up, and pressing immediately is correct. If they arrive at the same moment, the fight will be decided by who brought shields, and your job becomes keeping your ranged units alive rather than winning the first exchange.
- One entrance: never split. Stack everything on the single lane, shields first and ranged behind, and let the enemy walk into it.
- Several entrances: commit to one lane and scout the others. A flanker nobody saw is worth more than two extra soldiers in the main push.
- No cover: lead with cavalry, keep ranged units back until the fight is joined, and treat every exposed archer as already dead.
- Defending a near point: you can reinforce indefinitely, so trade slowly. Attackers on a clock lose to defenders who refuse to overextend.
How to read a map before you fight
The fastest way to improve at this game is to stop asking which units are best and start asking how many entrances a map has. A map with one entrance turns the match into a single attrition fight, where stacking shields and arrows behind them is correct and flanking is impossible. A map with several entrances does the opposite: it rewards whoever notices the unguarded side, and it punishes anyone who commits their whole army to the obvious lane.
Cover is the second thing to check. Open ground with no structures means your ranged units have nothing to hide behind, so they become a liability the moment cavalry appears. That is why the Open Field answer is cavalry rather than archers: on a map with no cover, mobility beats reach. On the narrow maps the calculation flips, because a single chokepoint lets a handful of shields protect everything behind them.
Finally, look at where the capture point sits relative to the spawn. A point close to your spawn is a defence you can reinforce indefinitely, while a point in the middle of the map belongs to whoever gets there first with numbers. Knowing which of those two you are looking at should change your opening move before a single unit is placed, and it is more decisive than any individual upgrade you could have bought.
Rules that apply everywhere
- Holding the centre of a point as the defender keeps you out of the direct line of both arrows and javelins.
- Lancer cannot climb walls, so do not bring it to a defence point that requires climbing.
- On defence maps the attacker has to clear whatever controls the gate before NPCs and allies can flood in.
A naming gap worth stating plainly
The three layouts listed above come from a single creator walkthrough dated 2026-09-21, and they are named World Kingdom, One-way Field and Open Field. The two field recordings below are filed under the map names their creators actually used on screen: Thermopylae and Plains. Both lists are kept side by side rather than merged, because they come from three separate recordings and no official naming document has been published that maps one list onto the other. Whether these are additional layouts, later replacements, or the same ground described differently is an open field-level question. Read the per-map strategy in each recording as that creator's own read of the layout, and read the official in-game rotation as the authority on what is actually in the pool.
What the two recordings do agree on is the principle the rest of this page argues: a layout is decided by entrances, cover and where the objective sits relative to the spawn. A single passage becomes an attrition fight, open ground removes the reason to bring archers, and a map you cannot block turns the attacking side into the stronger one regardless of which units you own.
Watch it in action
Every video below passed two checks before it went on this page: it resolves through YouTube’s own oEmbed endpoint, so the title and channel shown are the real ones, and it ships English captions, which is where the points beside it were read from. Nothing here is described from a thumbnail or a guess.
Strategy Guide: Thermopylae Command An Army Roblox
AccelToWin · uploaded 2026-10-01 · 5:59
- Disagrees with the usual reading that this map favours defenders and calls it an attack map instead: the single passage is the thing the attacking side is trying to break through, and the whole plan is about massing into it.
- Gives the attack roster as cavalry plus a line holder, a halberdier and archers, then separates their jobs: lancers break the line, Spartans or spearmen hold it, halberdiers answer cavalry and formed enemies.
- Archers are picked for a specific job rather than for damage, described as the only reliable answer to small groups that slip through, and meant to sit behind the line rather than in it.
- Flags one spawn that cannot be blocked because of an invisible wall, and a second opening that can be used to attack from the rear - a flank that costs time but can catch the enemy off guard.
- The defender's only real job is protecting respawn, so the advice is to move to another point immediately when one is being blocked rather than fight for a blocked one, and to watch the second passage without garrisoning it.
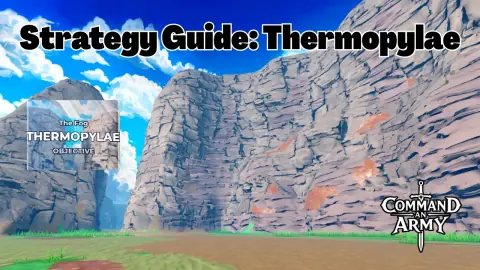
Video by AccelToWin on YouTube
Strategy Guide: Plains Command An Army Roblox
AccelToWin · uploaded 2026-09-25 · 6:02
- Calls this a cavalry map and says the answer is cavalry paired with anti-cavalry, while explicitly steering players away from archers because the open ground gives them nowhere to hide.
- Builds the attack plan around the enemy camps rather than the visible points: two camps are called low value because they can be retaken quickly, while one is treated as the spawn that must be held.
- Warns that halberdiers move slowly enough to lose a camp race, so the team still needs mobility even when the slot itself is an anti-cavalry pick.
- Notes that one point on this map cannot be taken at all, which is the reason the creator says Plains is one of the maps that favours the attacking side.
- The same geometry bites the defender back: with no chokepoint and no way to block a spawn, this is called one of the harder maps to hold.
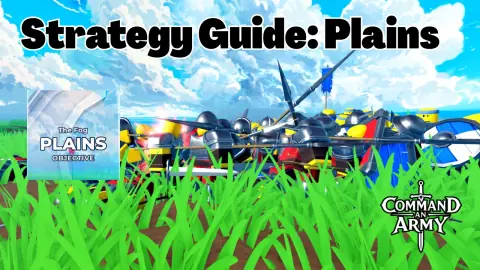
Video by AccelToWin on YouTube